I became Einstein on Zoom
alievk/avatarify: Avatars for Zoom and Skype
This article describes the setup steps for macOS.
The steps are different depending on your OS. For Linux or Windows, please check the README.md in the repository.
Environment
OS: MacOS Catalina 10.15.3
Device: MacBook Pro 2017
Processor: 2.3 GHz Dual-Core Intel Core i5
Memory: 16 GB 2133 MHz LPDDR3
Graphics: Intel Iris Plus Graphics 640 1536 MB
GPU: None
Installation
Install miniconda3
Installing on macOS — conda documentation
Download the installer from Miniconda — Conda documentation.
# An interactive shell will start. Follow the steps to install.
$ zsh Miniconda3-latest-MacOSX-x86_64.sh
$ export PATH="$HOME/miniconda3/bin:$PATH"
Clone and install the avatarify repository
$ git clone https://github.com/alievk/avatarify.git
$ cd avatarify
$ zsh scripts/install_mac.sh
$ conda activate avatarify
Download the pre-trained model vox-adv-cpk.pth.tar
Download it from Google Drive and place it in the avatarify directory.
Note: Do not extract the tar file. Place it as is.
Download CamTwist
Download it from here.
Running
Start avatarify
If you get a "Cannot open camera" error, change CAMID in scripts/settings.sh from 0 to 1, 2, etc.
In my case, changing it to 1 made it work correctly.
$ zsh run_mac.shStart CamTwist
2.1 Select "Desktop+" and click "Select"
2.2 In the Settings section, select "Confine to Application Window" and choose "Python(avatarify)" from the dropdown
In the window showing the avatar, press number keys 1, 2, etc. to switch between avatars.
Enable virtual camera in Zoom
Zoom v4.6.8 and later on Mac does not allow virtual cameras. Remove the library signature to enable virtual camera use.
$ codesign --remove-signature /Applications/zoom.us.appStart Zoom
4.1 In Zoom settings, go to Settings > Camera > CamTwist
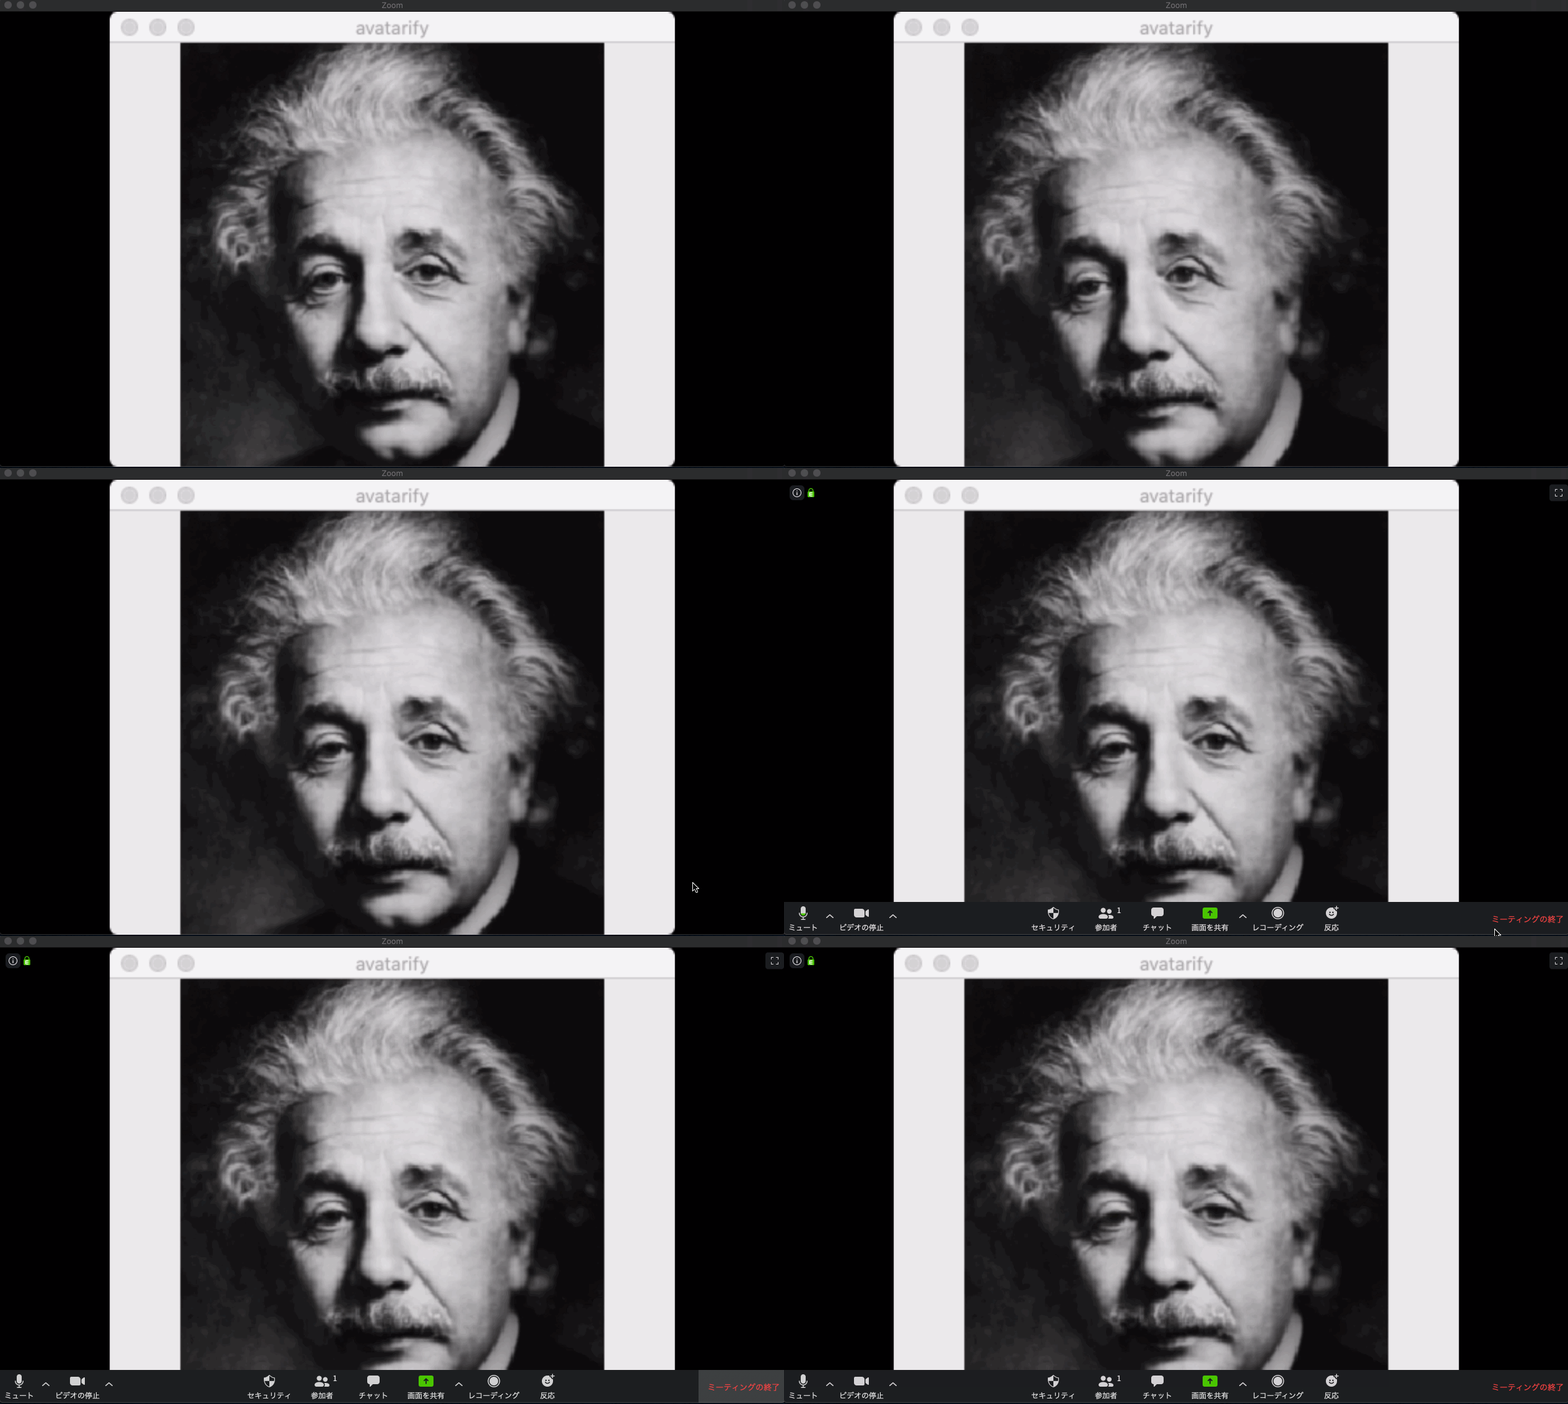
Without a GPU, performance is about ~1 FPS, so it does run but is not fun at all. 😢